how we do yarn art: a calming, creative project for kids
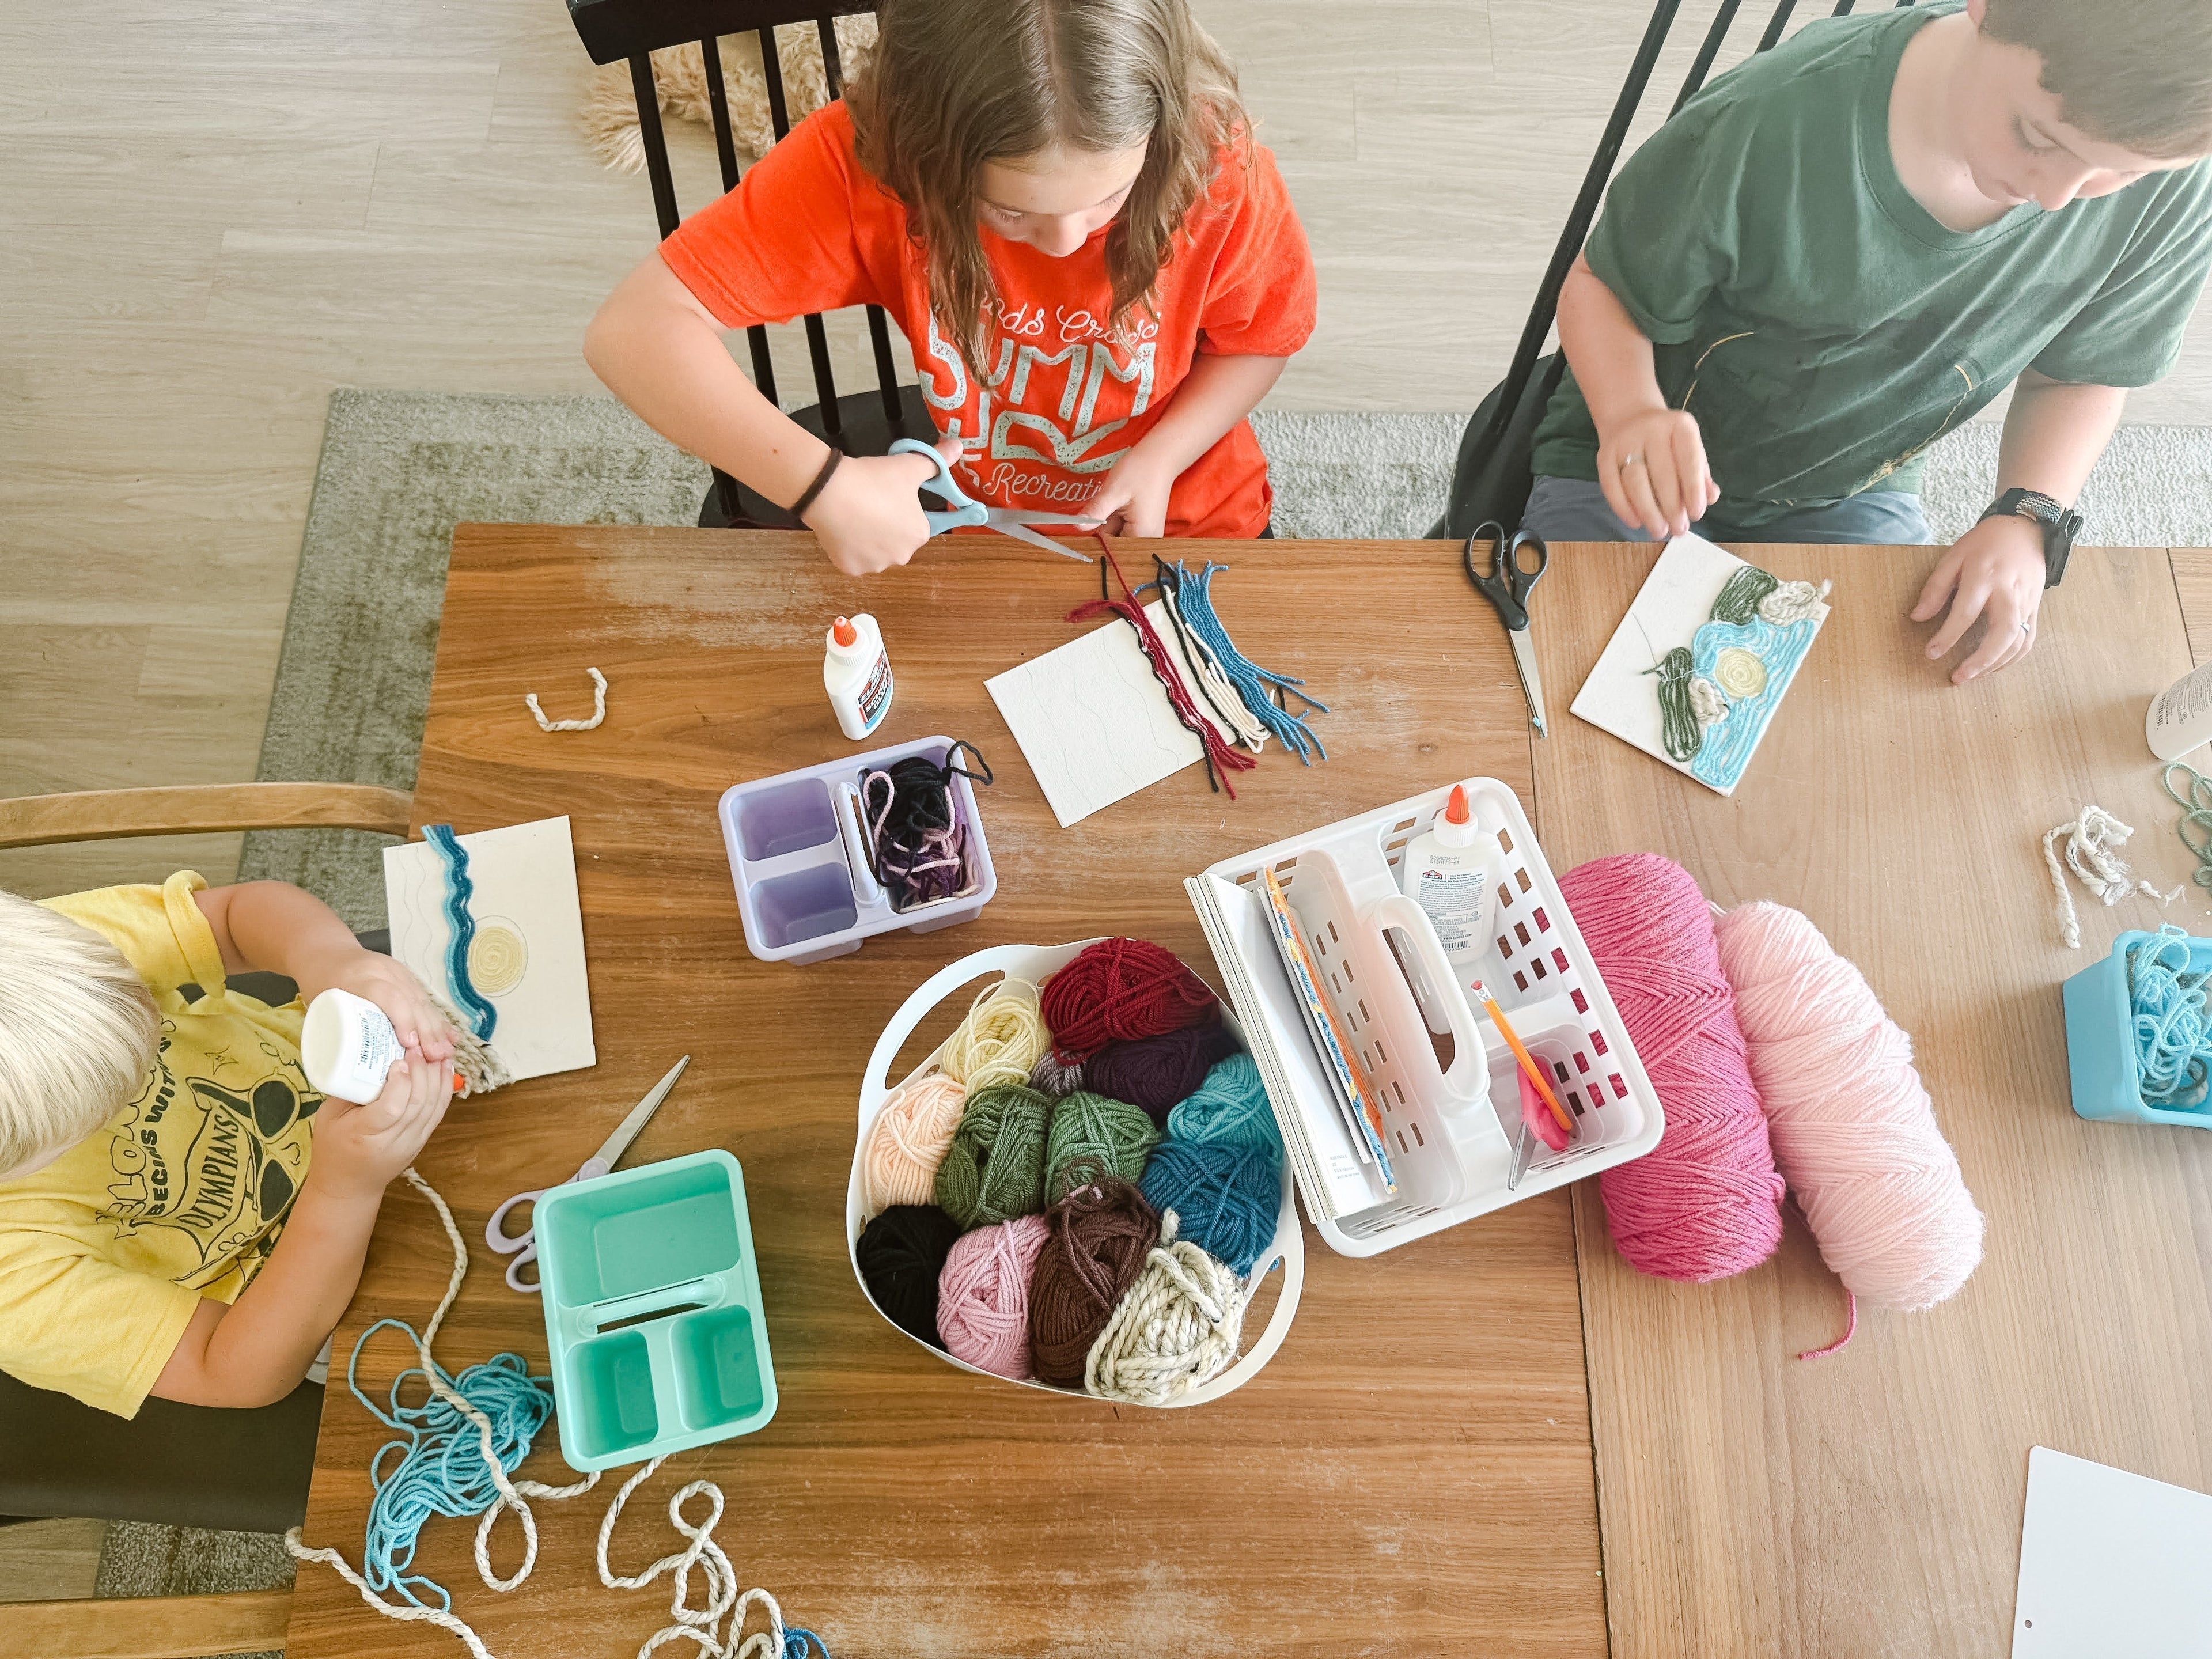
At girls camp last week, I tried a simple yarn art project with my group and was not expecting to fall in love with it. The girls were so into it—and honestly, so was I.
When I got home, I picked up everything we’d need from the dollar store and started making templates for my own kids. We’ve done strawberries, fireworks, Bryce Canyon landscapes, and more.
It’s screen-free, low-mess, and super calming. We turn on music or an audiobook and just… create. This is one of those crafts that actually works for a wide range of ages.

What You Need
You only need a few supplies to get started:
-
A printed template (we’ve got lots below!) or create your own
-
Cardboard or a small canvas
-
White glue or glue sticks
-
Yarn in a few colors
-
Scissors
Optional: a spoon or popsicle stick to help press the yarn down neatly.

How to Make It
-
Choose and print your template.
-
Cut it out and glue it onto cardboard or canvas.
-
Pick one section to start and add glue.
-
Lay down yarn—one color at a time. Use short pieces for curves!
-
Fill in the whole design and let dry completely.
We’ve done this with kids as young as 4 and as old as 14. It’s easy to adapt based on age and attention span.

Two Ways to Use It
At Home
Turn it into a screen-free summer activity or quiet time craft. Keep a basket of yarn scraps and glue ready to go.
In a Group
It’s perfect for church groups, summer camps, classrooms, or family reunions. Just print templates ahead of time and let everyone choose their favorite!
Why We Love It
This is one of those rare crafts that feels peaceful, not chaotic. The steps are simple, the materials are forgiving, and the finished piece is something kids feel genuinely proud of.
It’s also a great way to support fine motor skills, creativity, and focus—especially for neurodivergent kids who benefit from tactile, visual, and step-by-step activities.


0 comments